ZenEye Sensor & ZenEye Beacon – Operations Guide
(For operations, support & fleet admins)
Written By Support Team
1. Purpose & Scope
This guide explains how ZenEye Sensor and ZenEye Beacon are represented and used in ZenduOne, and how they interact with ZenTRACK gateways.
2. Role of ZenEye Devices in the System
ZenTRACK gateway (OBD, Power, Power+, Solar, etc.) acts as a BLE gateway.
ZenEye Sensor / Beacon act as BLE assets providing:
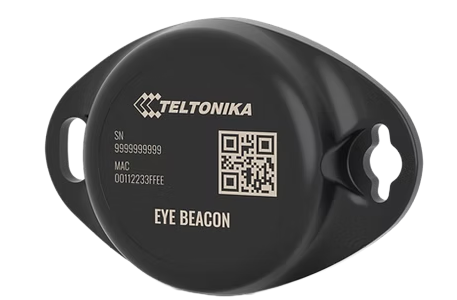
Identification only: ZenEye Beacon
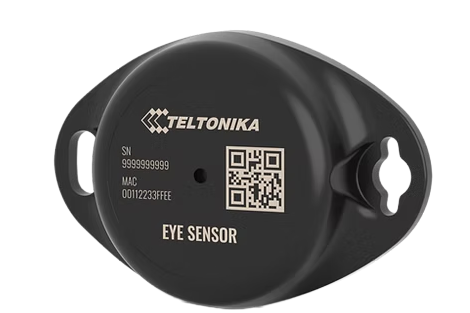
Identification + telemetry: ZenEye Sensor (temp, humidity, magnet, motion, etc.)
The ZenTRACK gateway scans for Eye devices and forwards their data to the backend.
3. Representation in ZenduOne
In ZenduOne, each ZenEye Sensor and ZenEye Beacon is treated as a separate asset, not just a hidden sensor:
Create a new asset for each device.
Set:
Asset Type: (per your taxonomy – e.g., “Sensor”, “Trailer Sensor”, “Equipment Tag”)
Tracker Type: BLE Beacon
Serial Number: MAC Address printed on the device
Optionally, use the label prefix in naming:
MG1_...orSP1_...may indicate specific models/roles; you can reflect that in the asset name.
Example:
Asset Name:
Trailer 12 – Rear Door SensorTracker Type:
BLE BeaconSerial Number:
AA:BB:CC:DD:EE:FF(MAC)
4. Association with Vehicles / Gateways
Operationally:
A vehicle with a ZenTRACK gateway (e.g., ZenTRACK OBD) will detect nearby ZenEye devices.
In ZenduOne, you can:
Logically associate the ZenEye asset with a vehicle asset (e.g., trailer/door sensor attached to a truck).
Use views and reports that show:
Vehicle location + attached sensors
Sensor metrics (temperature, door status, motion) over time.
This gives a clear hierarchy:
Vehicle / Gateway ➝ ZenEye Sensor or Beacon
5. What Data You Get
ZenEye Sensor:
Identification / presence (MAC)
Temperature
Humidity
Magnet / door / attachment status
Door open/closed (depending on magnet position)
Attached/detached state for magnet-based mounting
Battery level / voltage
Motion state, if enabled
ZenEye Beacon:
Identification / presence (MAC)
May expose basic metrics depending on model, but is primarily used for ID.
The exact fields available in ZenduOne depend on:
Teltonika Eye payloads
ZenduIT’s parsing and mapping to platform fields
6. ZenEye Battery Specifications & Lifetime
ZenEye Sensor and ZenEye Beacon are powered by an internal Lithium Manganese Dioxide (Li/MnO₂) battery with a capacity of 600 mAh. The battery is sealed and non-replaceable, meaning the device is designed for long-term, maintenance-free operation. When the battery is depleted, the entire unit should be replaced.
Battery life depends mainly on the transmission (Tx) power and advertising interval:
Up to 2.5 years at Tx = 2 dBm with an advertising interval of 3 seconds
Up to 4 years at Tx = 2 dBm with an advertising interval of 5 seconds (DEFAULT setting)
Up to 5 years at Tx = 2 dBm with an advertising interval of 10 seconds
In most deployments, ZenEye devices are shipped with the default profile (5-second interval), balancing update frequency and battery longevity. Any change to advertising interval or Tx power (via Eye App) should be evaluated carefully, as more frequent transmissions will reduce overall battery life.
7. Operational Best Practices
Use a consistent naming convention for ZenEye assets (e.g.,
Trailer XX – Front Door,Warehouse Bay 3 – Temp Sensor).Always set the Serial Number in ZenduOne equal to the device MAC – that’s your authoritative ID.
Keep a mapping in your internal system:
MAC ↔ Physical location ↔ Vehicle/trailer/equipment.
If a sensor or beacon is moved to another asset (e.g., trailer reassignment), reflect that change in ZenduOne.