ZenTRACK Box - Fulfillment Guide
(Internal – Bench configuration & pre-shipment prep)
Written By Support Team
1. Purpose & Scope
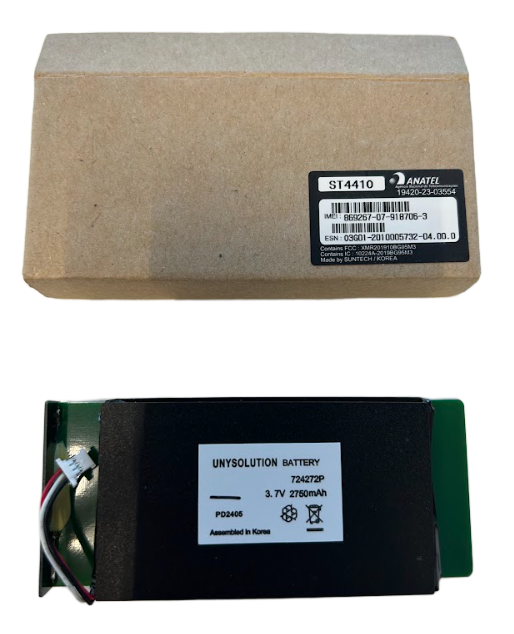
This guide describes how to prepare ZenTRACK Box devices (Suntech ST-4410) before they are shipped or deployed:
Download and use Synctrak
Insert SIM and connect battery
Power on and verify LED
Load default ZenduIT configuration
Manually set APN and server if needed
Final charge and packing
2. Download Synctrak Configuration Software
On a Windows PC, download Synctrak from:
https://suntechus.zohodesk.com/portal/en/kb/articles/synctrak-soft
Install and open Synctrak.
3. Prepare the Device

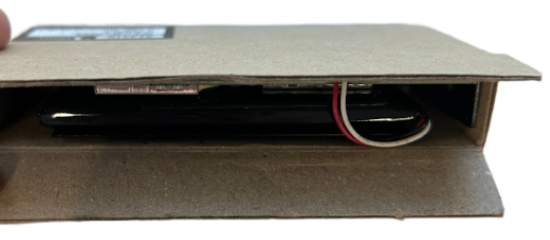
Remove the device board from the cardboard box/housing.
Locate the power key/switch on the ST-4410 board.
Set the power key to ON.
Insert the SIM card into the dedicated slot.
Ensure correct orientation and that it is fully seated.
Connect the internal battery connector to the board.
The device is now ready to be powered and configured.
4. Power On & LED Check
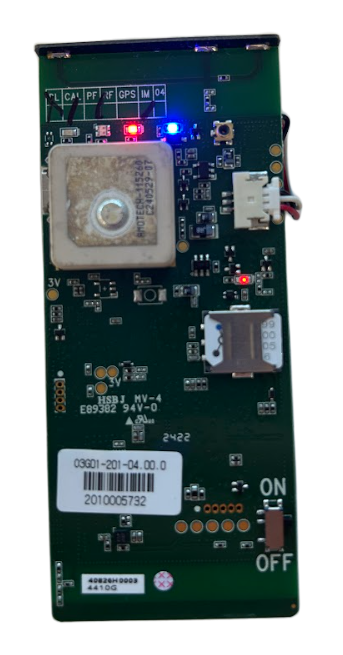
Once the power key is ON and the battery is connected, the device will power up.
Check the LEDs to confirm the device is powered.
At minimum, you should see blinking LEDs indicating activity (exact LED states depend on firmware).
If there is no LED activity, see Troubleshooting.
5. Connect to PC & Open COM Port in Synctrak
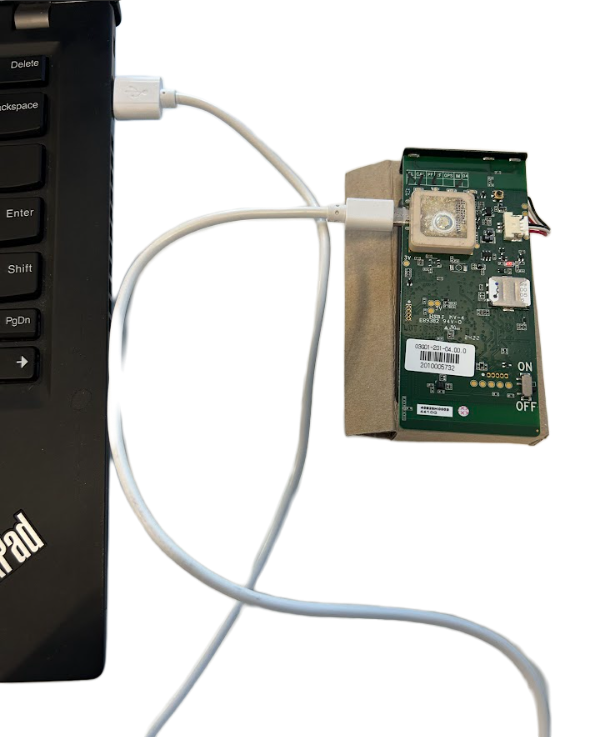
Connect the ST-4410 to the PC using a USB cable.
Open Synctrak.
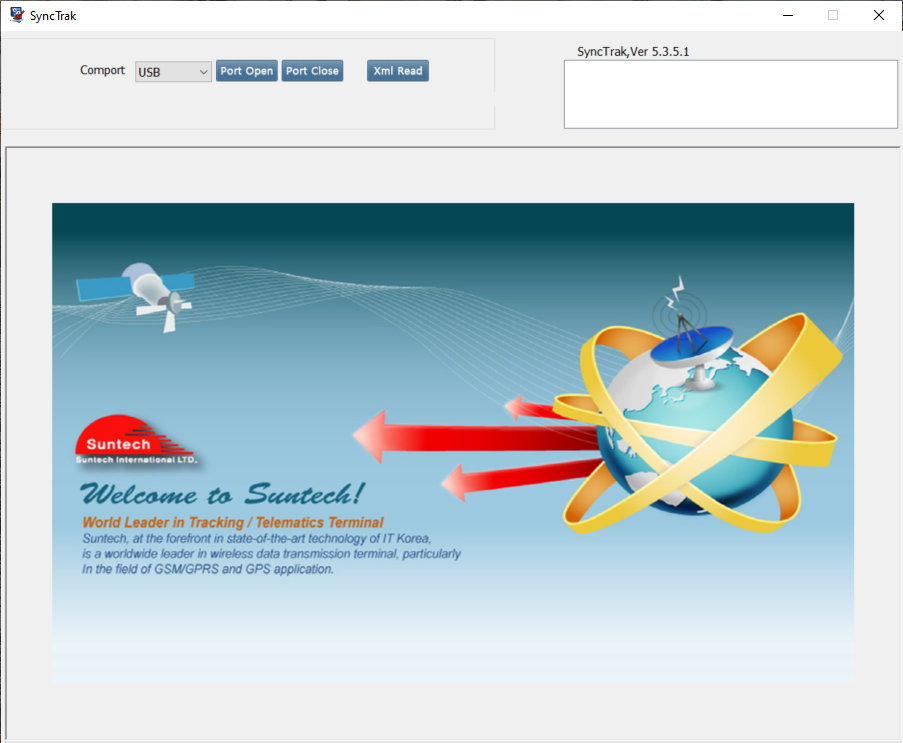
On the top bar:
Choose COM Port Search.
Click Port Open.
Synctrak will scan and open the device configuration.
If the device is not detected:
Check the USB cable and port.
Confirm that the device LEDs indicate power.
6. Load Default Configuration Profile
ZenduIT provides default configuration profiles by device model and SIM/APN.
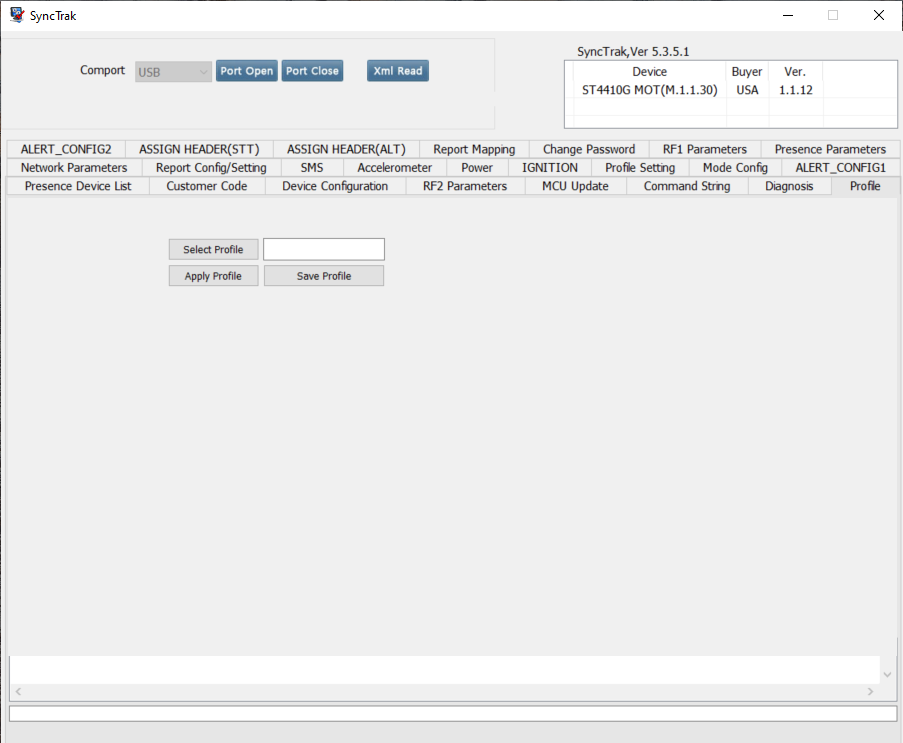
In Synctrak, go to the Profile tab.
Click Select Profile.
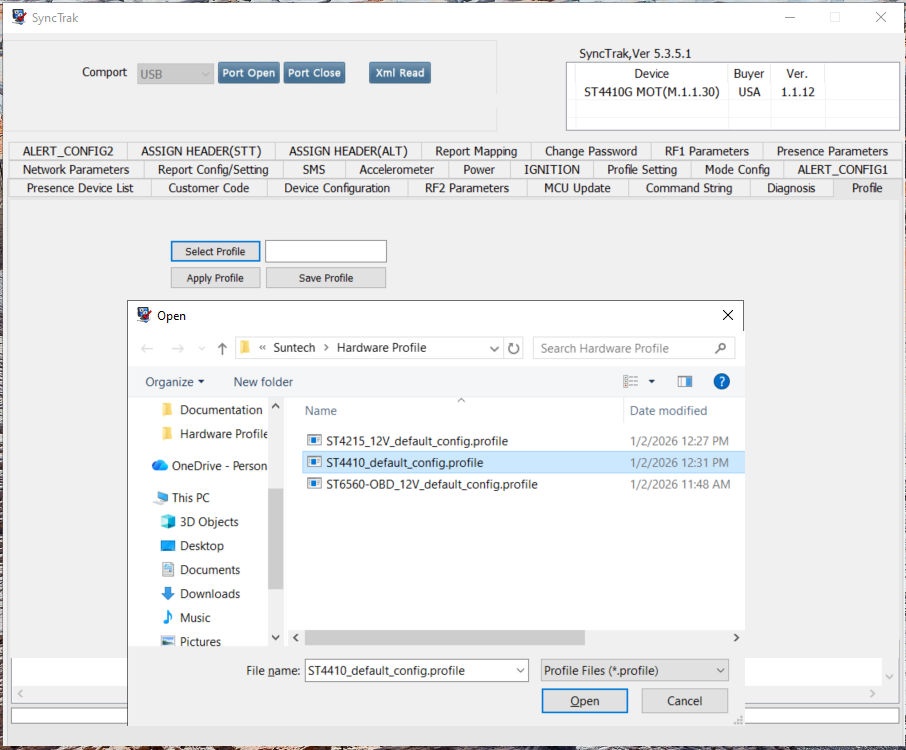
Choose the correct profile file:
Match the product model (ST-4410).
Match the SIM/APN being used.
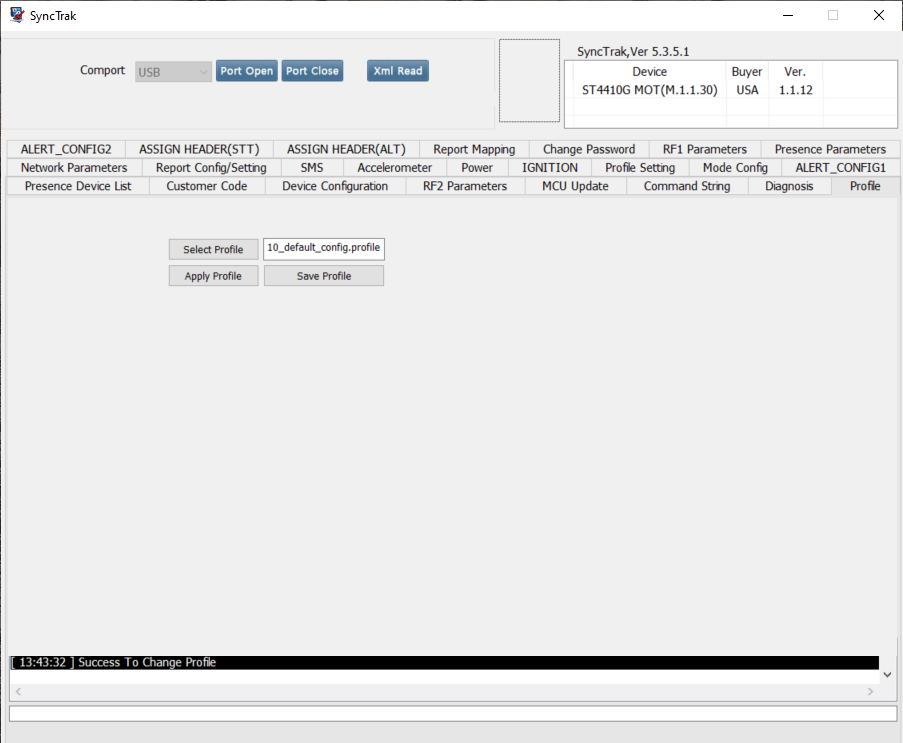
Click Apply Profile to upload the configuration to the device.
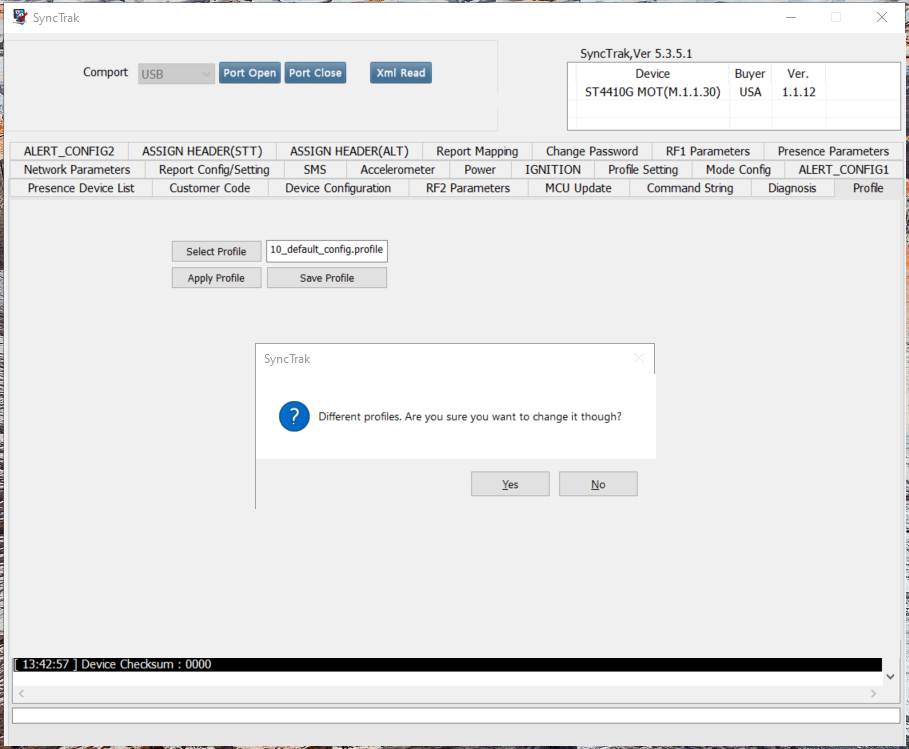
Important: After applying, click Save Settings so the configuration is stored in the device.
These default profiles include:
APN (when applicable)
Server IP and port
Protocol and keep-alive
Other ZenduIT defaults for ZenTRACK Box operation
7. Manual Network Configuration (If Needed)
If a profile is not available or you need to adjust settings manually:
In Synctrak, go to the Network tab.
Set the APN according to the SIM:
Flolive:
gigsky-021NCE:
iot.1nce.netTelenor:
connect.cxnMonogoto:
data.mono
Leave APN user and APN password fields empty, unless otherwise specified by the carrier.
Set the server parameters:
Server IP:
34.63.84.161Server Port:
80Server Type/Protocol:
TCPKeep Alive:
30 minutes
Click Save Settings to store the changes.
8. LED Behavior Check
After configuration and saving:
Confirm the device LEDs indicate active operation.
For example, periodic blinking showing it is powered and running.
You don’t need to interpret all LED codes here; the main goal is to verify the device is alive and responsive.
9. Return to Housing & Final Charge
Return the device board back into the ZenTRACK Box cardboard housing.
Using the USB port, recharge the device for 1 hour:
This tops up the internal battery so it’s ready for shipment or installation.
After charging, disconnect USB and close the box.
10. Device Identification
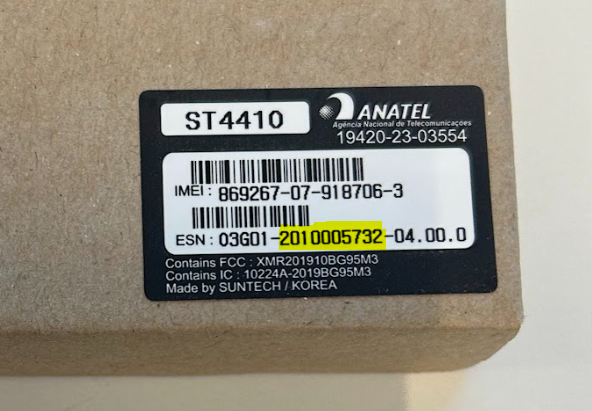
Use the middle section of the ESN, highlighted in yellow above, as the device Serial Number in ZenduOne, the fulfillment system, and all other internal records.
11. Final Fulfillment Steps
Record:
IMEI / serial
SIM ICCID
APN used
Configuration profile name
Mark the device as:
Configured for ZenduIT operation
Charged and ready for deployment
Pack and label according to your internal logistics process.