TopFly Relay – Overview, Installation, Activation & Daily Usage
Written By Support Team
1. Hardware Overview
1.1 Components
Supported Trackers
ZenTRACK Power
ZenTRACK Power+
ZenTRACK Solar
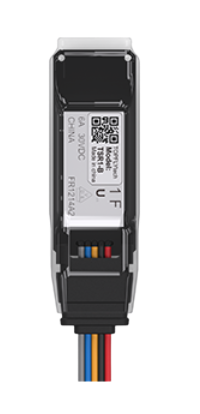
BLE Relay
TopFly BLE Relay (TSR1-B)
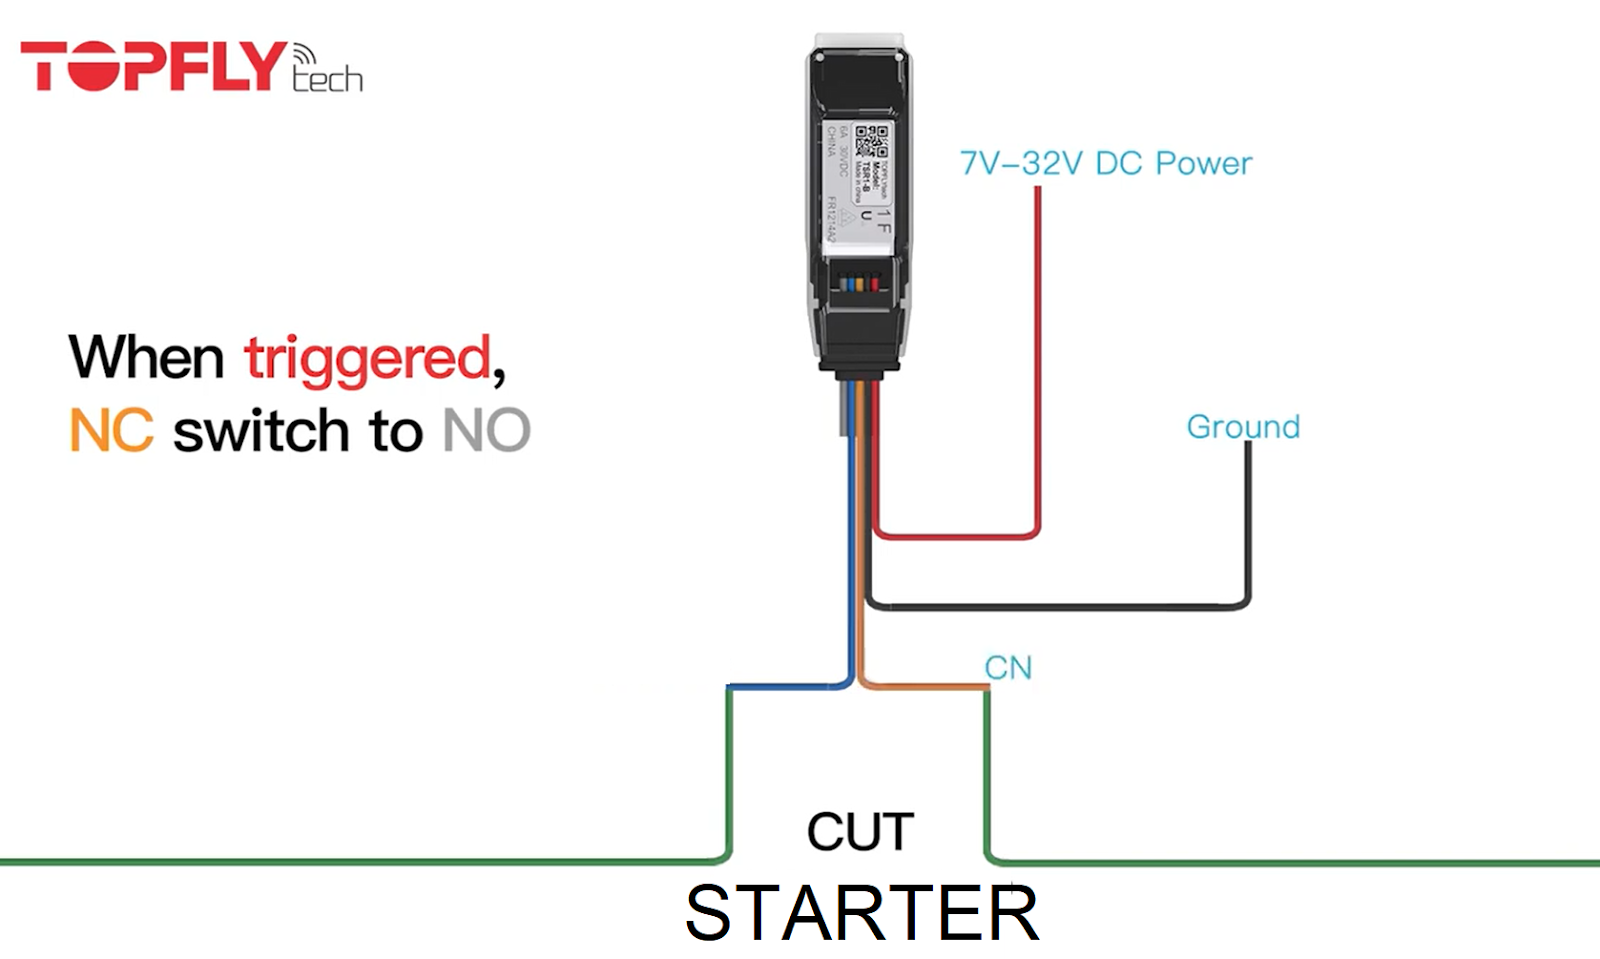
What the BLE Relay Does
Bluetooth-controlled relay installed inline with a vehicle circuit (e.g., starter, ignition feed, fuel pump).
Protected by a BLE password.
The tracker controls the relay using:
Relay ID (from the QR code on the relay), and
Relay password (default: 654321, configurable in ZenduOne).
2. Activation Process
2.1 Prerequisites
Before configuring the BLE relay on ZenduOne, make sure:
ZenTRACK device is installed and online
GNSS lock is active.
Cellular connection is working.
BLE Relay is installed and powered
Relay is wired into the correct vehicle circuit (starter, ignition, fuel pump, etc.).
You have the Relay ID / Serial Number:
Use the QR code printed on the relay to read the Relay ID.
This value is required to configure the relay on ZenduOne.
Wiring is defined and documented
Clearly document which circuit is being controlled (e.g., “Starter cut-off”, “Fuel pump cut-off”).
2.2 Enabling the BLE Relay on ZenduOne Platform
Once the hardware is installed, configure the relay in ZenduOne as follows:
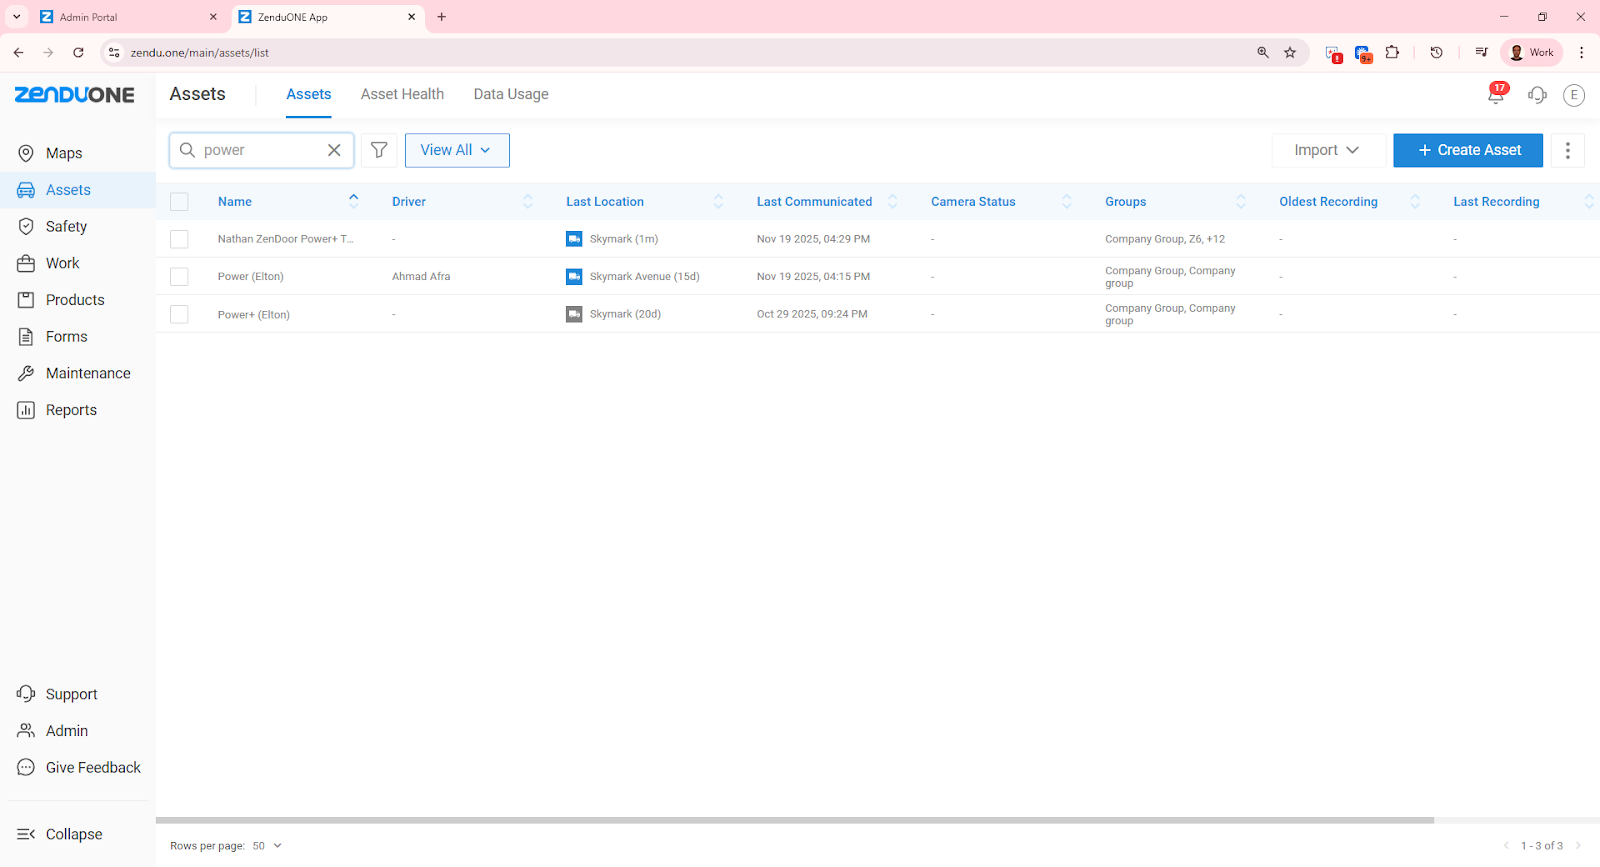
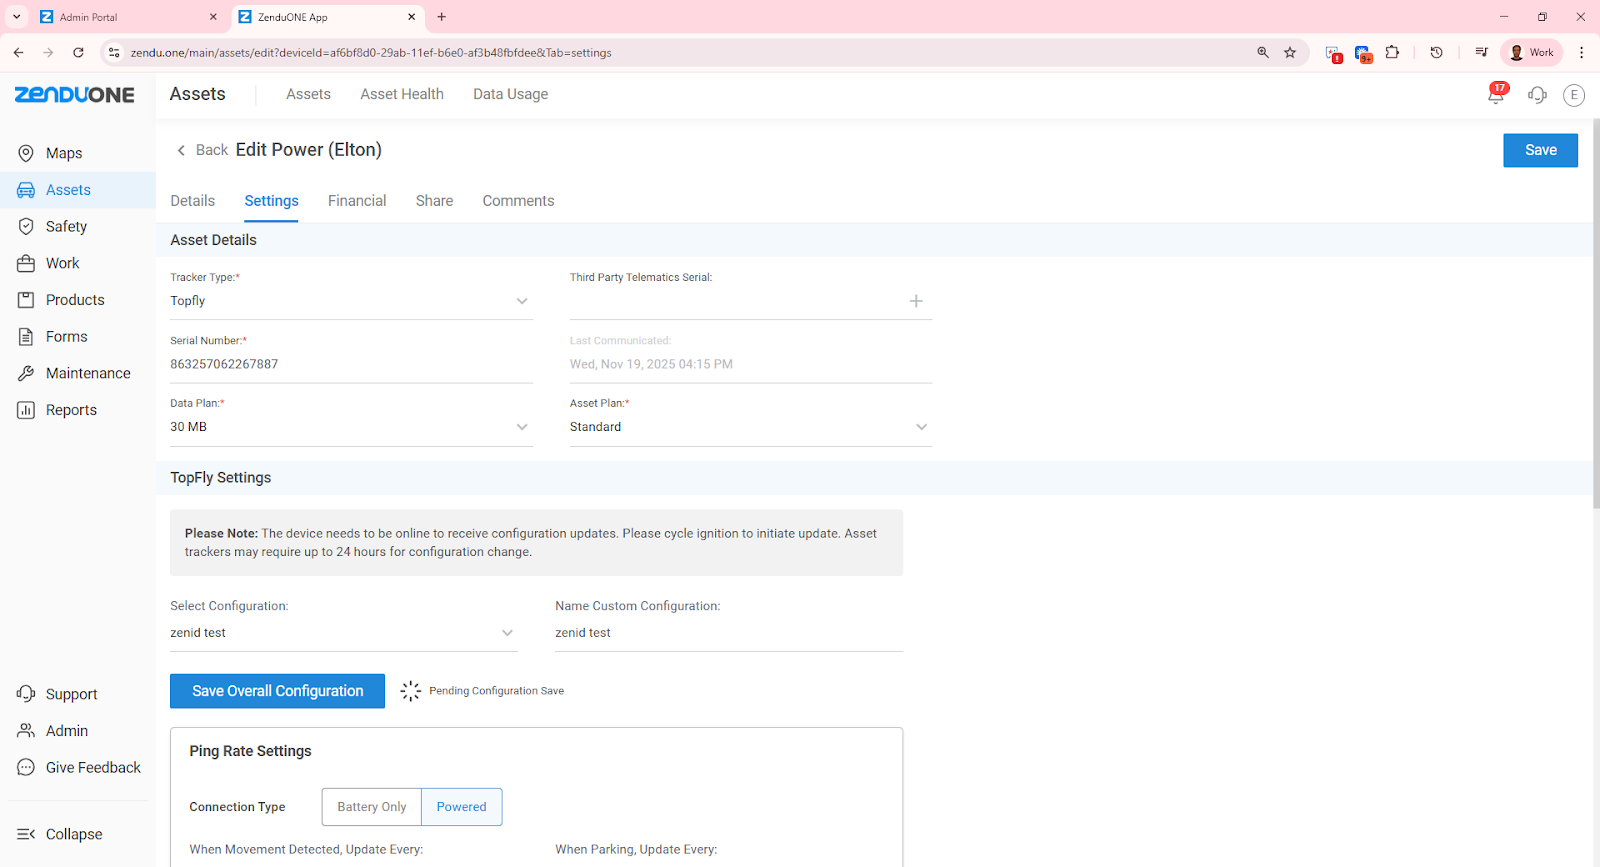
Open the Asset
Go to the Assets module.
Search for the asset (vehicle) that has the ZenTRACK device installed.
Click on the asset to open its details.
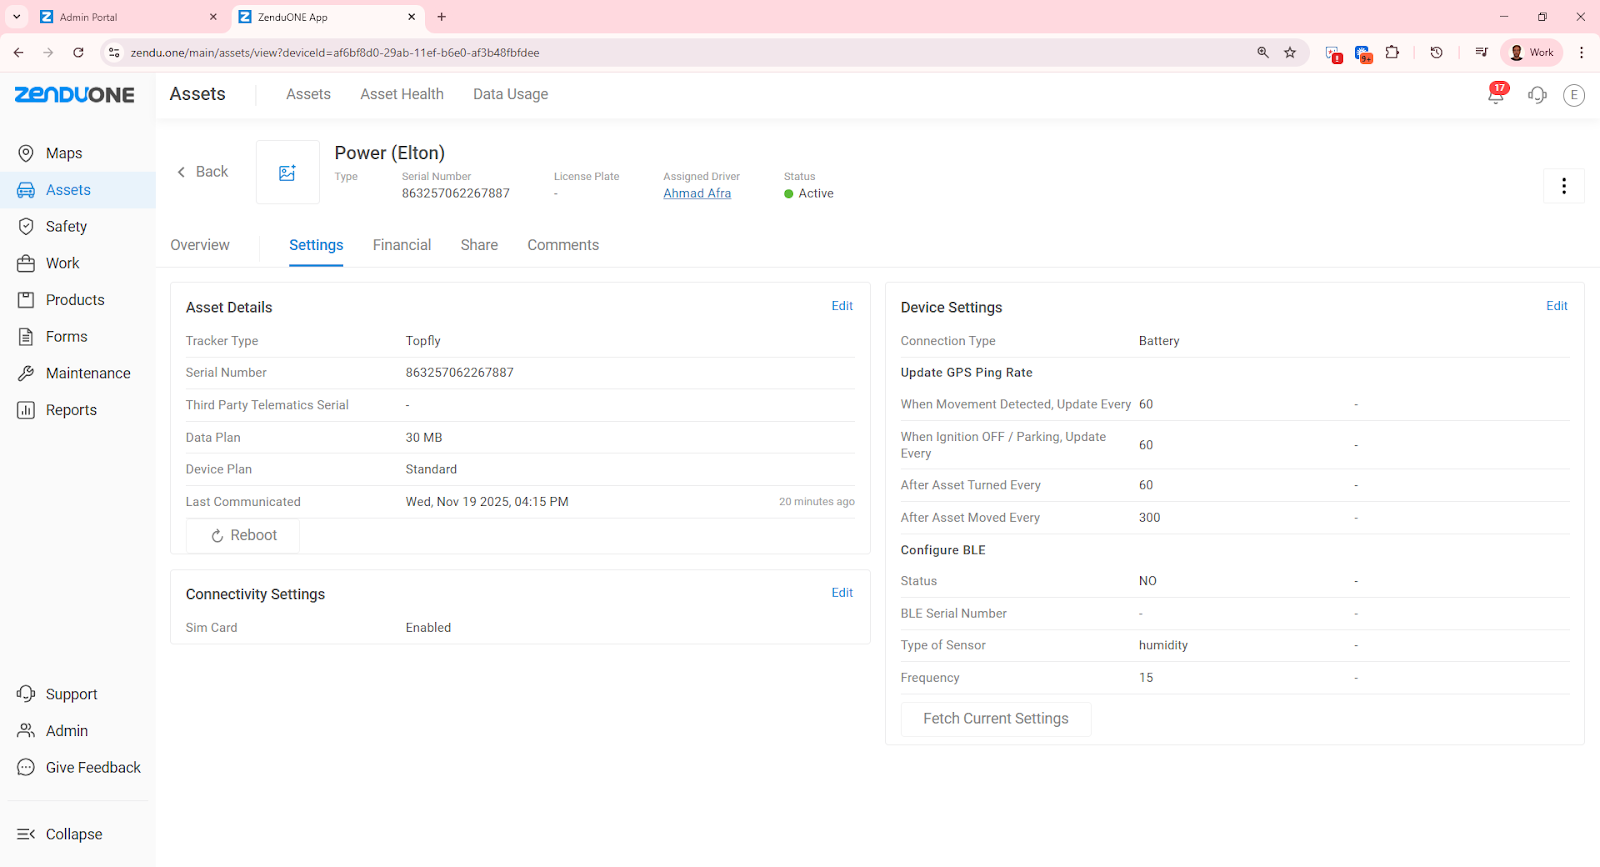
Access Asset Settings
In the asset view, click on the Settings tab.
Click Edit under Asset Details.
Open BLE Settings
Scroll down to the BLE Settings section.
Enable BLE configuration using the Configure BLE toggle.

Scroll down to BLE Settings and click on Configure BLE (togle button).
BLE Serial Number: Enter the relay serial number displayed on the QR code printed on the device.
Type of Sensor: Choose Relay
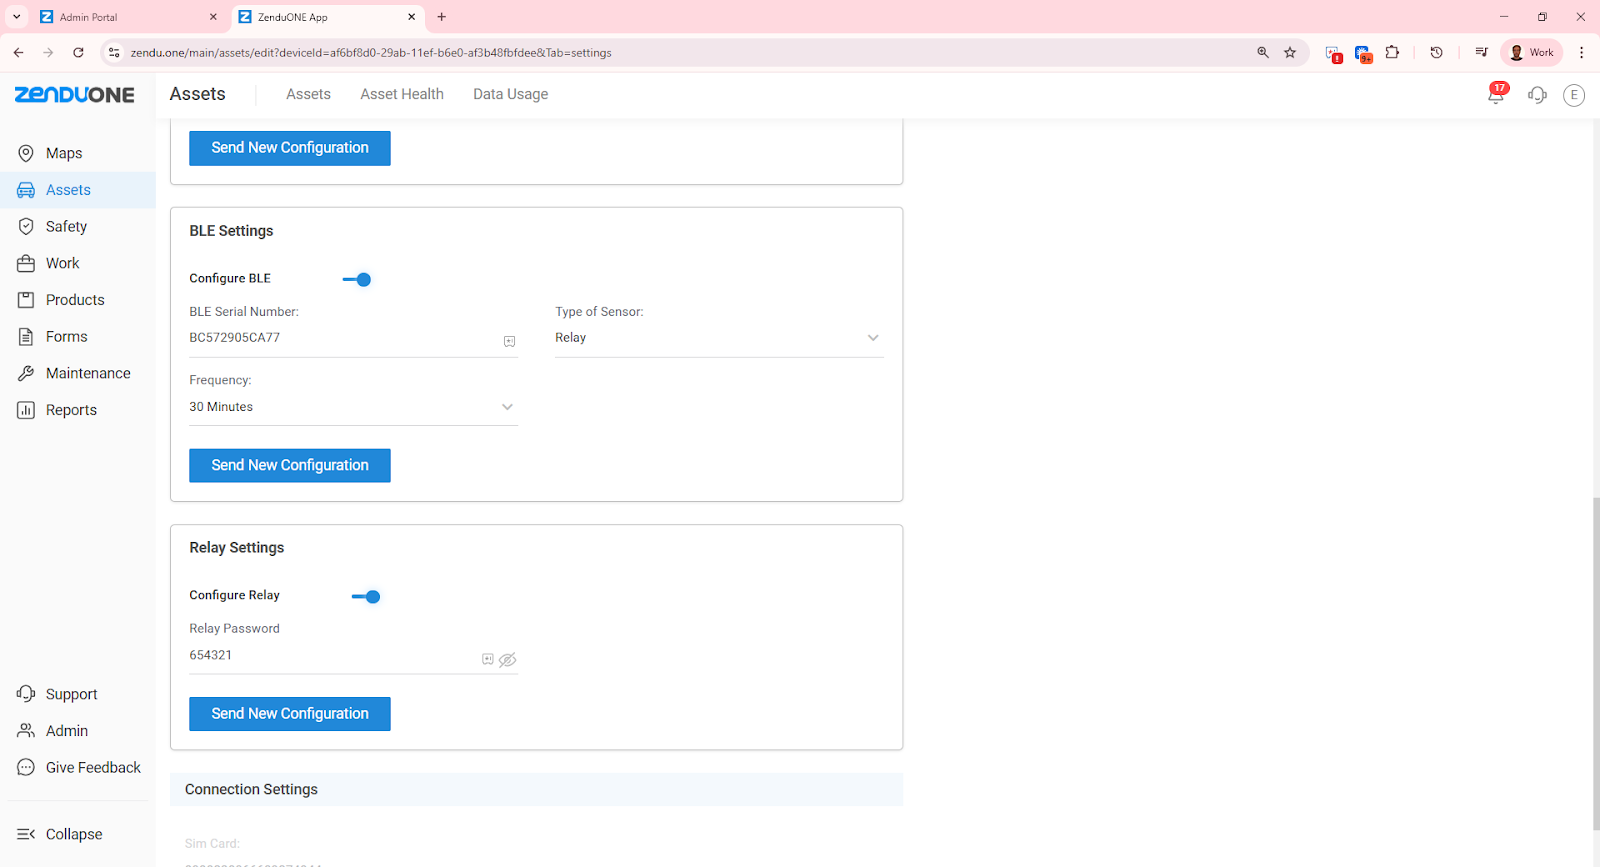
Configure the BLE Relay
BLE Serial Number:
Enter the relay serial number / Relay ID shown on the QR code printed on the relay.Type of Sensor:
Select Relay.
Relay Settings
A new Relay Settings window will open.
Activate the relay using the Relay toggle.
Password: Enter the default password 654321 (or the password configured for this relay).
Make sure this matches the relay’s BLE password.
Send Configuration to the Device
Click Send New Configuration.
Wait for the success message confirming that the configuration has been sent to the tracker.
Save Asset Settings
Scroll back up and click Save to store the updated asset configuration in ZenduOne.
Once these steps are completed, the BLE relay is paired to the ZenTRACK device and ready for remote control.
Daily Usage (Relay On / Off)
Current Behavior (Temporary Process)
At the moment, cutting off the vehicle starter (or other controlled circuit) is done via a manual command sent from the backend software,
This is typically handled by the operations/support team when requested.
Upcoming Feature (Customer Self-Service)
In an upcoming ZenduOne update, a Relay / Starter Cut-Off button will be available directly in the platform UI.
Customers will be able to:
Turn the relay ON (restore circuit) or OFF (cut circuit) from the asset screen.