ZenCAM Cargo Installation Guide
Written By Support Team
📄 Download PDF Version: Attached Below 🢃
zencam-cargo-installation-guide.pdf
13.5 MB• Document
Z5 Installation Guide (Informal POC Version).pdf
9.8 MB• Document
1. Introduction
ZenCAM Cargo integrates seamlessly into the fleet management system, offering efficient real-time cargo monitoring, intelligent AI features, and remote access. It is suitable for all cargo container types and provides real-time insights into cargo loading, unloading, and door status, enhancing security and management.
2. Overview
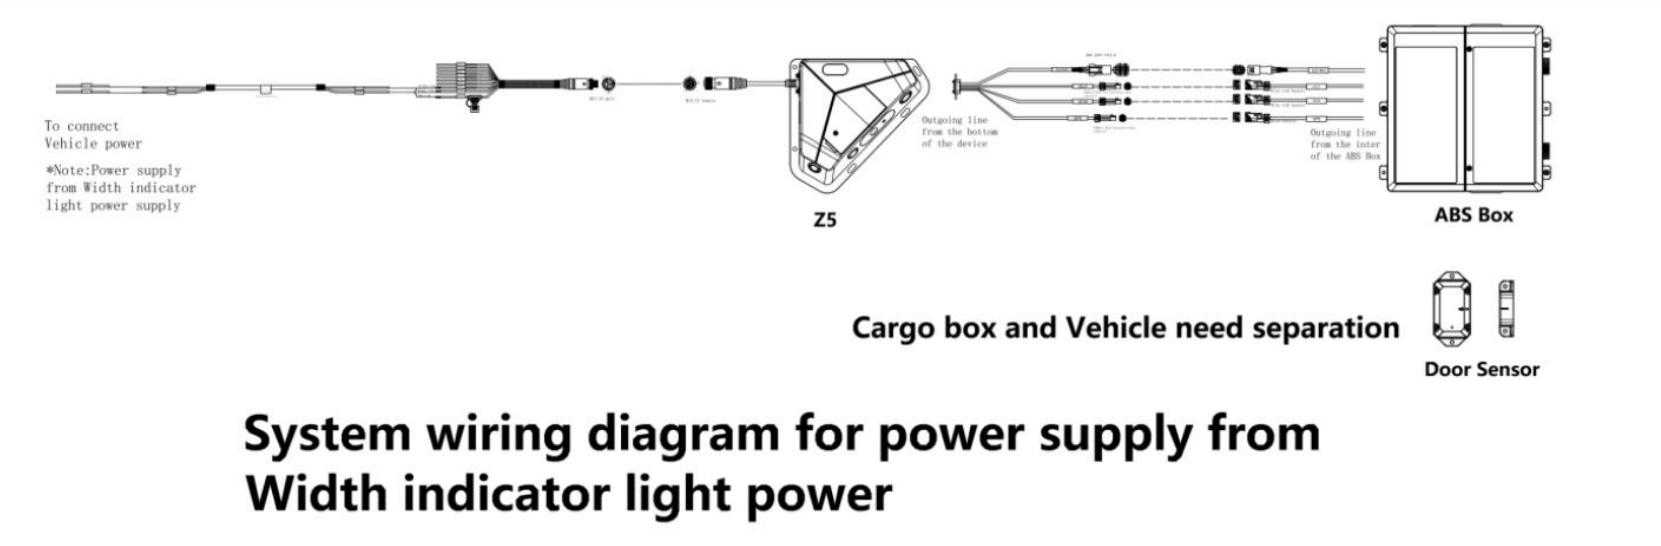
The ZenCAM Cargo is a highly integrated AI-powered device designed for monitoring cargo volumes, detecting door status, and providing video surveillance services. It supports 4K and 1080p video recording, features built-in Bluetooth, GPS, and a 4G network connection for real-time monitoring and data transmission. It can be powered via the vehicle's ACC or from the power supply of the width indicator lights.
2.1 System wiring - power supply from width indicator lights
2.2 System wiring - power from vehicle ACC

3. Pre-Installation Checklist
3.1 Tools and Equipment
1 |  | Common screwdriver kit | Tighten screws, optional | 1pc |
2 |  | Crowbar | Pry up the vehicle panel | 1pc |
3 |  | Ties | Bundle cables | Prepare as needed |
4 |  | Dry cleaning cloth | Clean the dashboard | 1pc |
5 |  | Mobile phone/Pad | Install the Veyes App for video preview and parameter configuration | 1pc |
6 |  | Steel tape | Measure the installation height of the camera and other scenarios | 1pc |
7 |  | Mark pen | Mark lines for Dashcam installation | 1pc |
8 |  | Cutting nippers | Cut and strip wires | 1pc |
9 |  | Insulated rubber tape | Wrap wire ends | 1pc |
10 |  | Scissors | Cut insulated rubber tape or wire clip | 1pc |
11 |  | Multimeter | Locate vehicle power supply, measure the conduction of harness, and measure pulse signal | 1pc |
12 |  | Waterproof tape | Waterproof protection for outdoor wire connectors | 1pc |
13 | 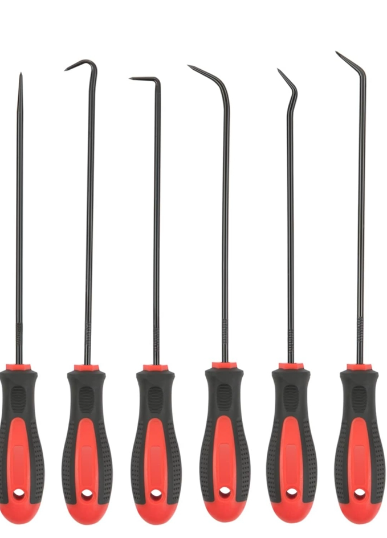 | Hole and Poke Tool | It is used to poke a wire to add external wire connections | 1 Set |
14 |  | Fuse Add a Circuit | Connections To add a extra fuse line on the current running electrical fuse | 2 per Camera |
15 | 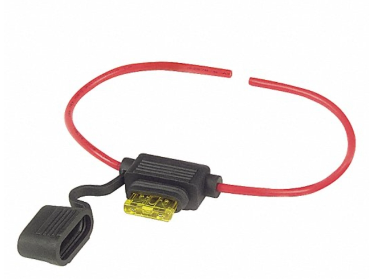 | Fuse Link | To add fuse for safety before any external connection | 2 Per Camera |
16 |  | Soldering Iron | It is used to solder the connection | 1 |
17 | 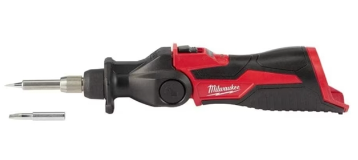 | Soldering Tool | Need to solder | 1 |
18 | 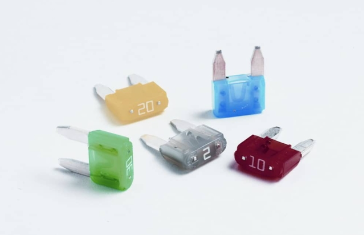 | Fuses | Use max 5 amp | As needed |
19 |  | Portable Drill | Drill holes of various sizes | 1 |
20 | 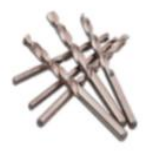 | High-speed drill bits | For body drilling | Various sizes |
21 | 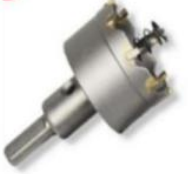 | Hole Saw | For body drilling | At least 1 x 30mm |
22 |  | Caulking Gun | For applying sealant | 1 |
23 | 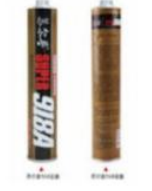 | Sealant | Body hole sealing and waterproofing | 1 |
24 | 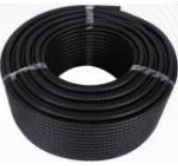 | Bellows | To protect cables | Dependent on length of cable going from ZenCAM Cargo to power supply |
25 |  | Cable Clips | To hold cables in place | 60 |
26 |  | Ladder | 1 | |
27 |  | AA batteries | For door sensors | 2/door sensor |
3.2. Safety Precautions
Ensure the vehicle is turned off and parked in a safe, stable environment.
The vehicle should be on a flat surface to prevent any movement during installation.
Wear protective gear as necessary (gloves, eyewear).
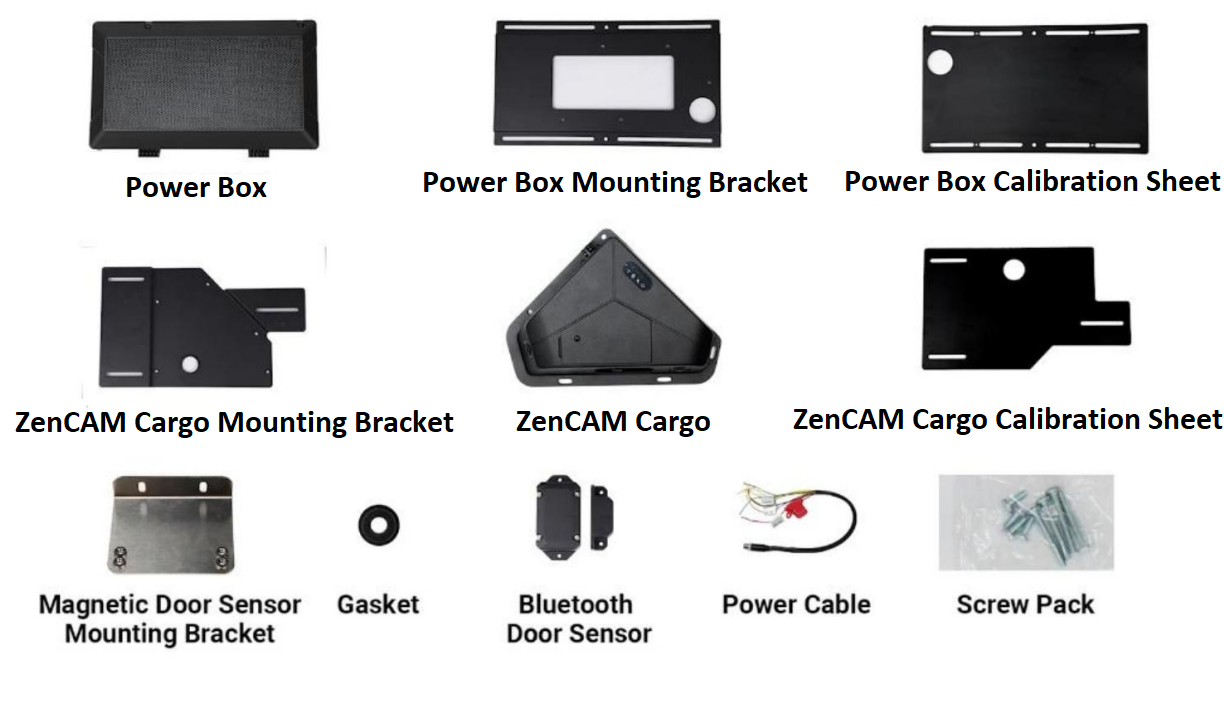
3.3 Confirm ZenCAM Cargo equipment and accessories .
4. Installation Process
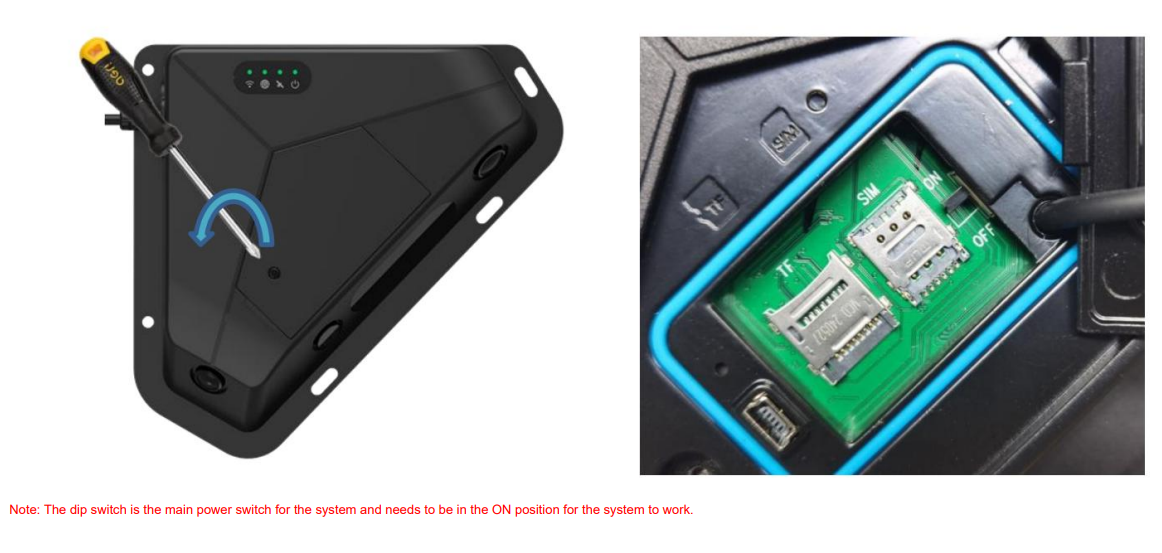
4.1 Insert the SIM and Micro SD Card
Open the ZenCAM Cargo device cover using a screwdriver.
Insert the Nano SIM card and secure it in place.
Insert the Micro SD card into the rotating slot, then close and secure the cover.
Switch the main power to ON, replace the cover and lock it.
4.2 Install the ABS Power Box
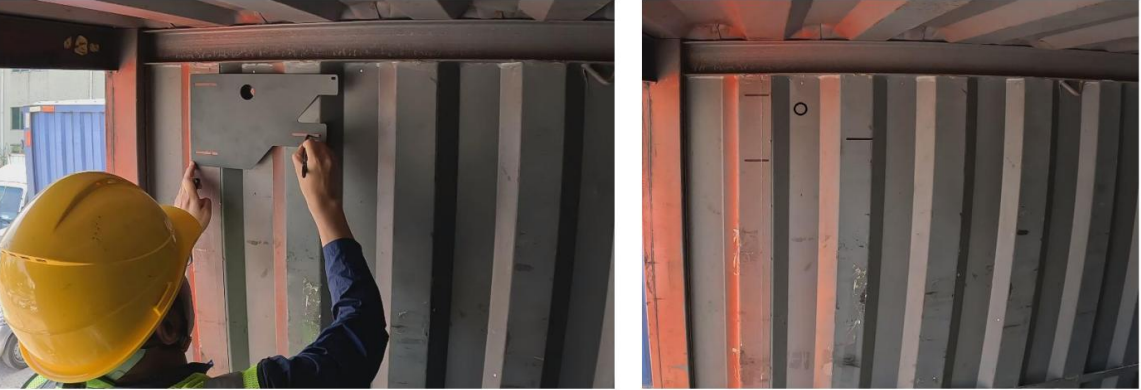
Using the calibration sheet, mark the installation location for the ABS Power Box inside the cargo box, ensuring clearance for door movement. Make sure you open the door to ensure it does not hit the battery box.
Use a 3.5mm drill bit to drill a small hole at the location where the battery box screws will be installed
Drill a 30mm hole for the connecting wires between the device and the power box. Drill a smaller pilot hole first to make it easier

Secure the ABS Power Box to the cargo box using screws and an electric drill.
Pass the ZenCAM Cargo tail wires through the hole and connect them to the power box.
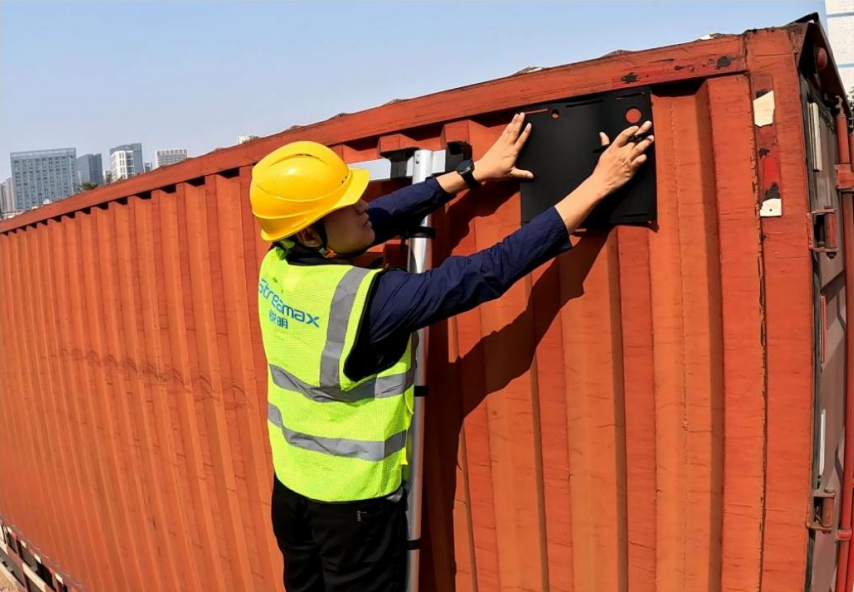
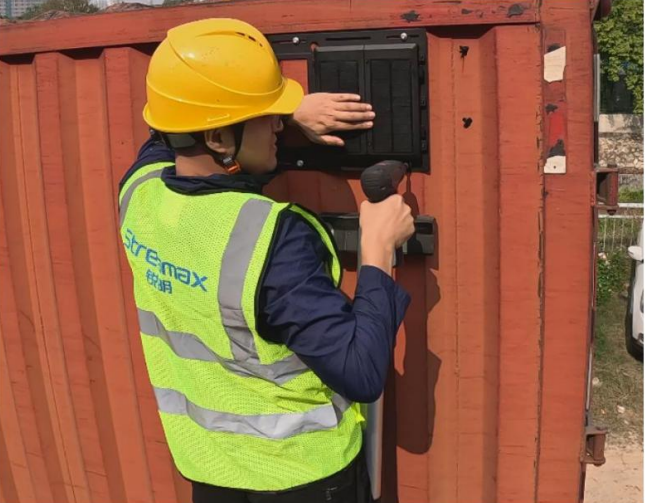
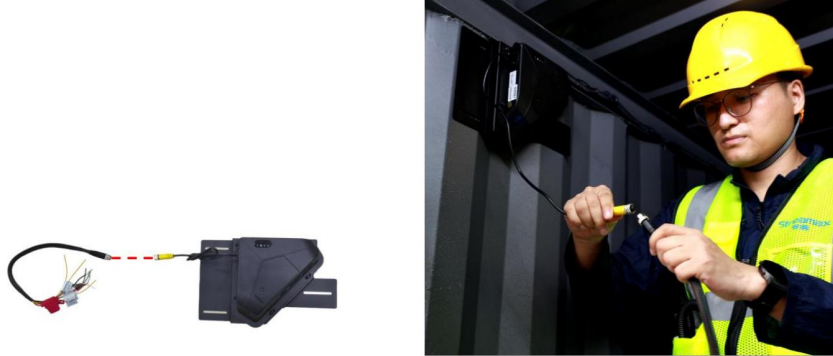
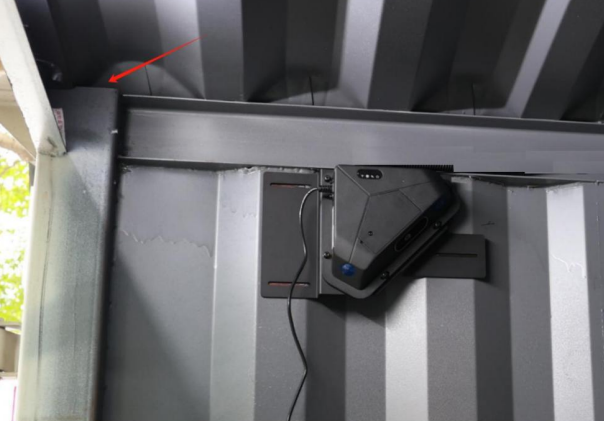
4.3 Install the ZenCAM Cargo
Position the ZenCAM Cargo inside the cargo box near the rear door, parallel to the ground.
Using the calibration sheet, mark screw hole positions and drill 3.5mm holes for mounting.
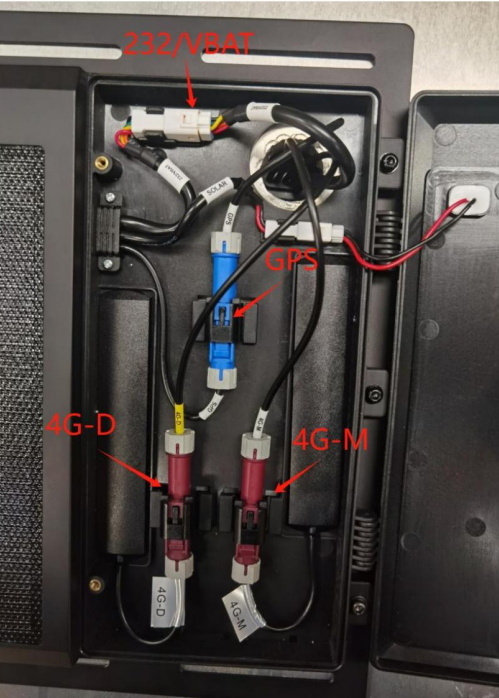
Pass the ZenCAM Cargo tail wires through the drilled hole to connect to the power box. Use waterproof rubber plugs to cover the connecting wires, and then install the waterproof rubber plugs in the opening of the cargo box. Connect the connectors of GPS antenna, 4G antenna, power cable, etc. Adjust the wires positions so that they are easy to seal.
Use a caulking gun to apply sealant to seal the hole and ensure waterproofing.

After applying the sealant, close the battery box cover and tighten the locking screw.
4.4 Connect to Vehicle Power
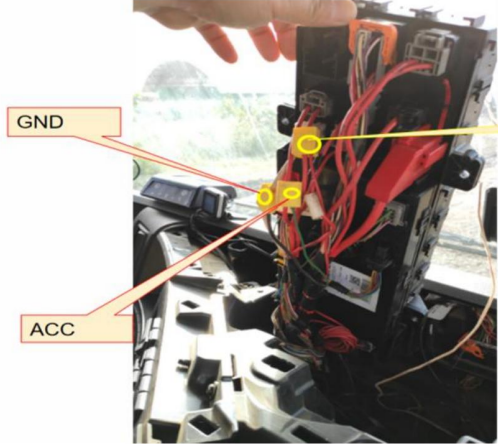
For detachable cargo boxes, connect the system to the width indicator light power supply. For non-detachable cargo boxes, connect the system to the vehicle’s ACC power
Use a multimeter to confirm the power supply and ground wire for the connection
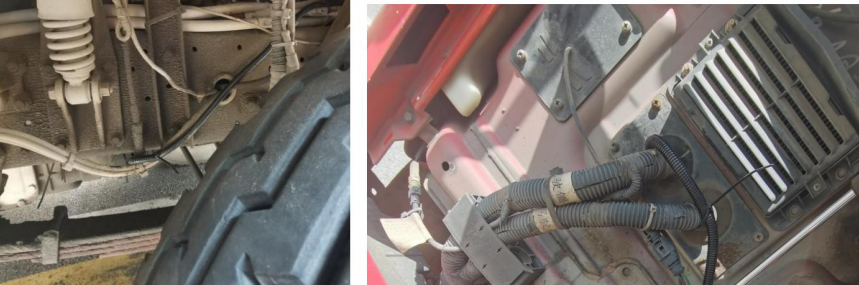
The wiring path of each vehicle will be different according to the model. For a straight truck, use a tape measure to measure the distance between the ACC line, the ground line and the host OR if in a tractor/trailer scenario, use a tape measure to measure the width indicator light power line, ground line to the main. Refer to the diagrams below:

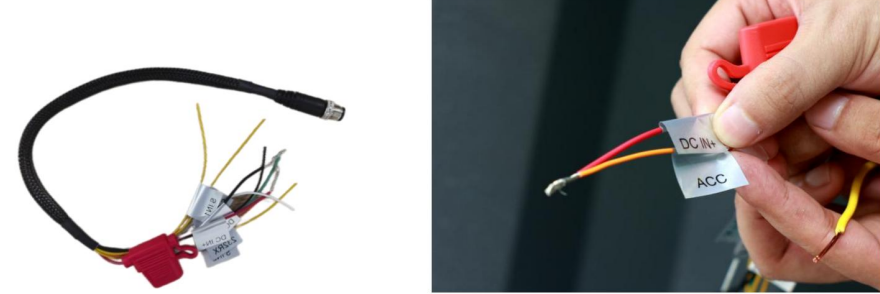
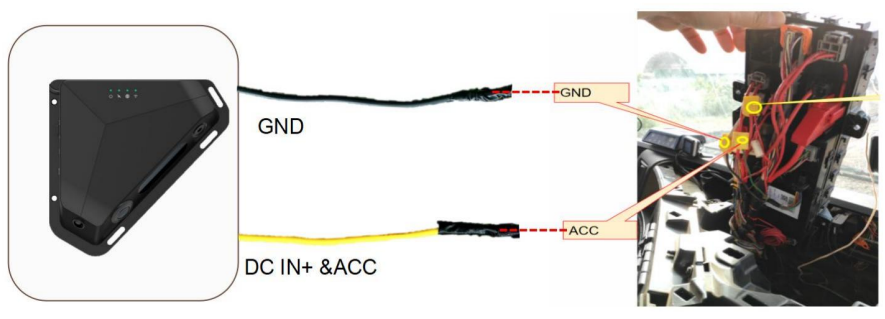
Connect the connecting wire in the device accessories to the tail wire connector of the host
Connect the DC IN+ and ACC of the accessory cable together.
Find the cargo box through hole where the power cord is passed from the inside of the car to the outside of the car, and make sure the power cord can pass through
Prepare power cables of corresponding length based on the estimated length of power cables required from the device to the power supply location
Connect one end of the power cord to the device's accessory cable, and the other end to the vehicle's ACC and ground wires.
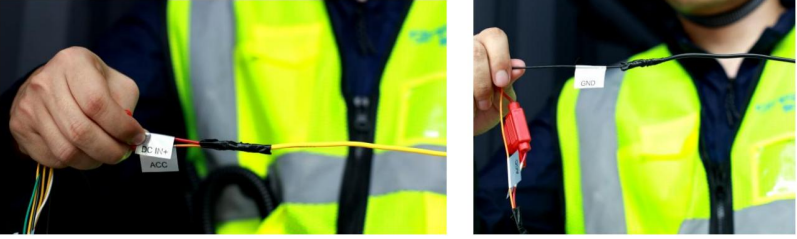
The power cable is connected to the vehicle's ACC and GND:
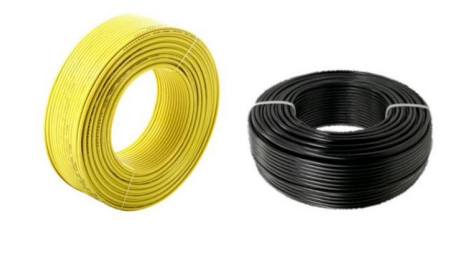
Put the power cord into the corrugated tube
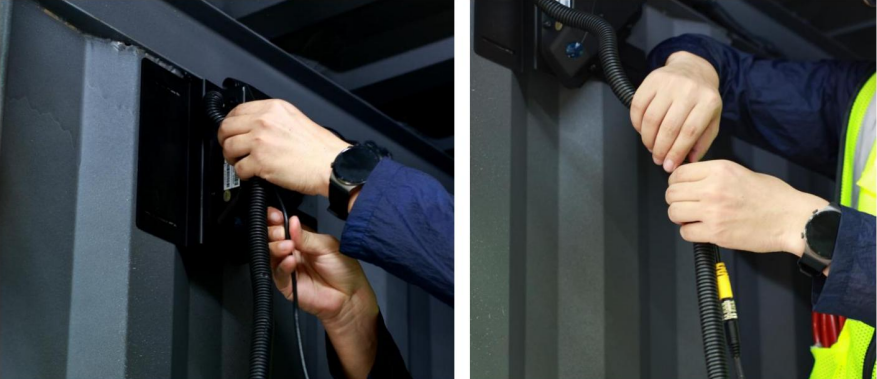
Pass the power cord through the hole in the cargo box. Use glue, cable clips, cable ties, etc. to secure the wiring.
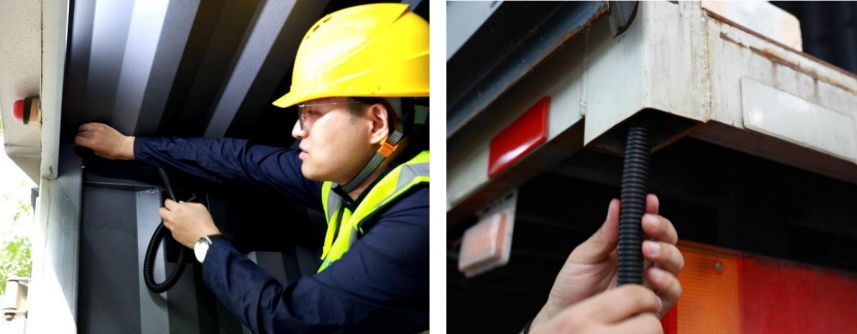
Route the power cable from the outside of the cargo box to the vehicle ACC and ground wire at a suitable location on the bottom of the vehicle. You can follow the original route of the vehicle

The power cables routed outside the vehicle need to be secured with cable ties to prevent damage due to large vibrations, friction, etc.
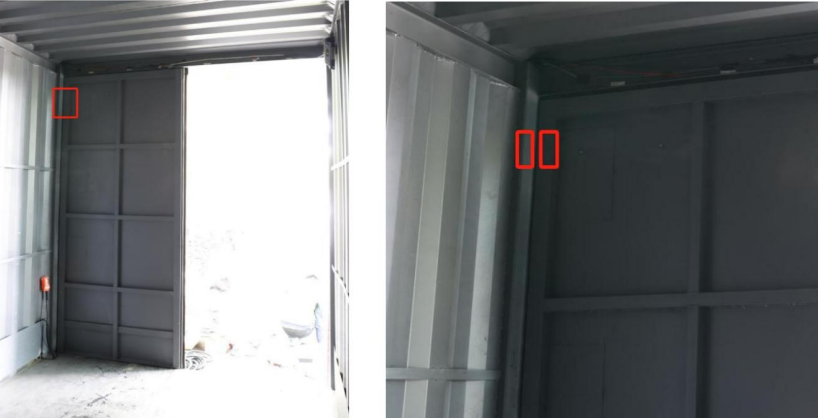
4.5 Install the Door Sensor
First, select the appropriate installation location for the door sensor and magnet. Use a marker to mark the screw locations. Insert the batteries into the sensors.
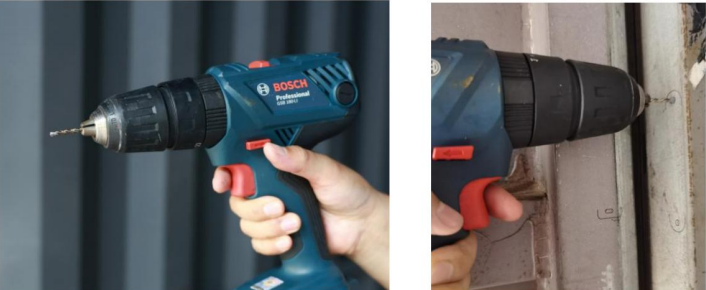
Use a 3.5mm drill bit to drill a small hole to facilitate the installation of the fixing screws later.
Place the door sensor at the installation location, use an electric drill to drive the fixing screws into the screw holes, and fix the door sensor and magnet.
Install the door sensor on the side or top edge of the door, ensuring no interference with door movements.
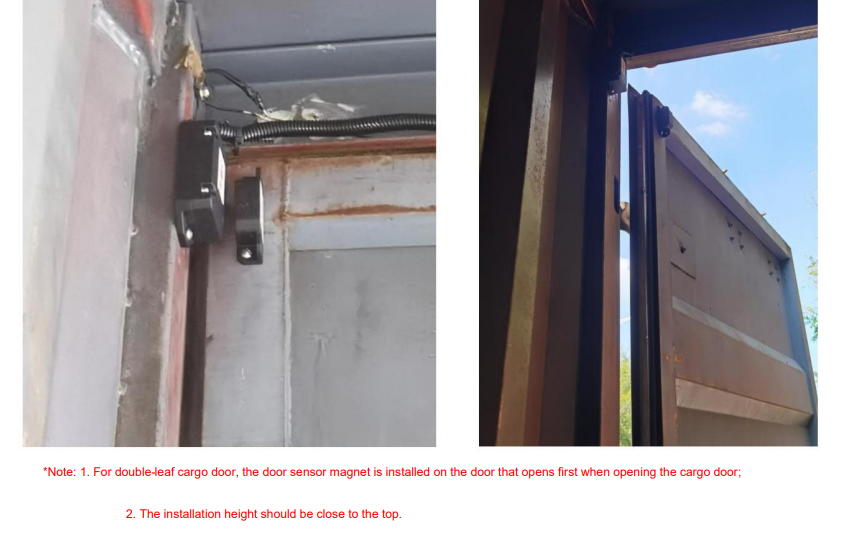
Tighten screws to secure the door sensor, ensuring it is waterproof.
5 Perform AI Calibration
Before calibration, the equipment needs to be installed and the inside of the cargo box must be empty
Download the Veyes app from the links below:
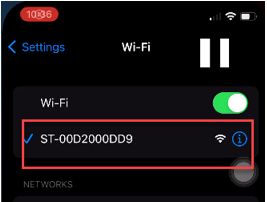
Connect to the ZenCAM Cargo device hotspot (Ensure connected to the cargo camera 0F0)
Launch Veyes application and ensure you are connected to the camera and enter the following credentials:
Username: admin
Password: For password contact our support at support@zenduit.com +1 (855) 936-3848 x 2
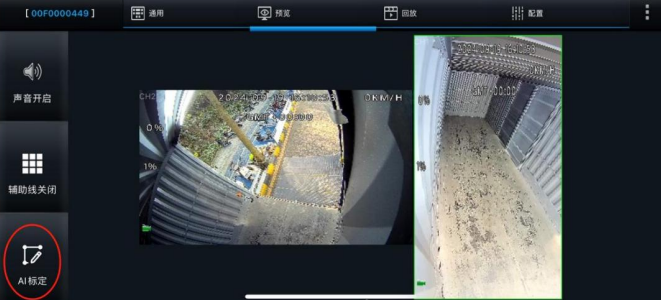
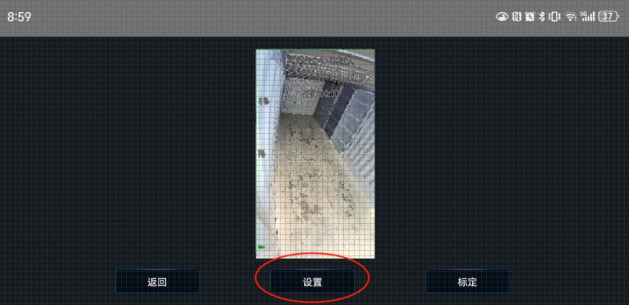
Click “AI Calibration” on the “Preview” page
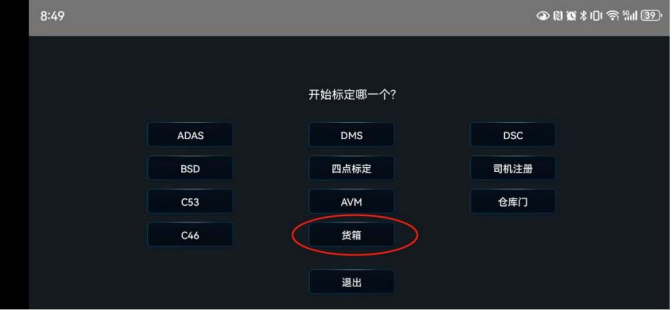
Click the "Cargo Box" entry to enter the calibration settings interface
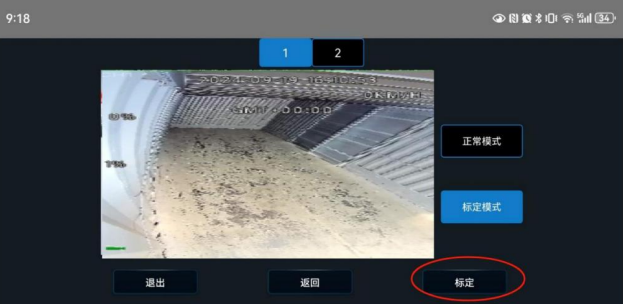
Click the calibration menu in the lower right corner to enter the calibration settings interface
Click the "Settings" menu below to enter the "Calibration Parameters Settings" interface
In the "Calibration Parameters Settings" interface, set the length, width, height of the vehicle cargo box and the equipment installation position. Set the calibration parameter table as shown in the figure below, set the correct values and save.
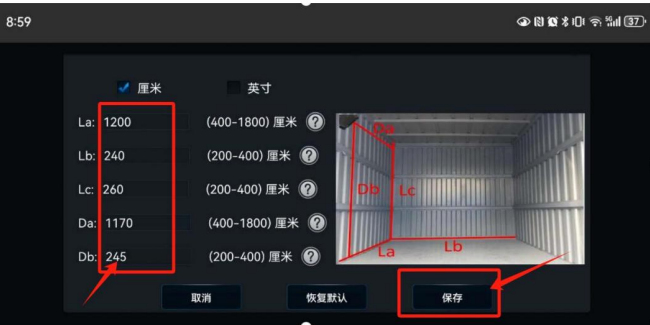
Click ‘Save’ and then proceed with the AI calibration in the app.
Confirm calibration by clicking ‘Calibrate’ to complete the process.
Common Installation Errors & Troubleshooting
Error: Device not powering on
Solution: Ensure the power connections are secure and verify the vehicle’s power system compatibility.
Error: GPS signal is weak
Solution: Confirm that the ZenCAM Cargo is installed in a location with a clear view of the sky.
Error: Bluetooth door sensor not responding
Solution: Ensure the sensor is within 2 cm of the device and check for any obstructions that could block the signal.
Post-Installation Validation & Testing
Check Device Power: Ensure the ZenCAM Cargo powers on and all status lights are green.
Verify GPS Functionality: Confirm that the GPS location is accurate by testing the device's real-time tracking.
Test Door Sensor: Trigger the door sensor with a magnet to verify the status light changes.
Run AI Calibration: Confirm that the AI calibration process completes successfully and accurately tracks cargo information.
Support and Contact Information
For any assistance during the installation process or troubleshooting, please contact our support team at support@zenduit.com or call +1 (855) 936-3848 x 2. You can also visit the Zenduit platform to submit a support ticket.