ZenTRACK Solar Installation Guide
Written By Support Team
1. Purpose & Scope
This guide explains how to physically install the ZenTRACK Solar device onto an asset (container, trailer, equipment, or vehicle exterior) and verify that it powers up, communicates, and operates correctly.
Note: Pre-configuration (firmware, config file, APN, DMS registration) should already have been done by fulfillment or technical staff before installation.
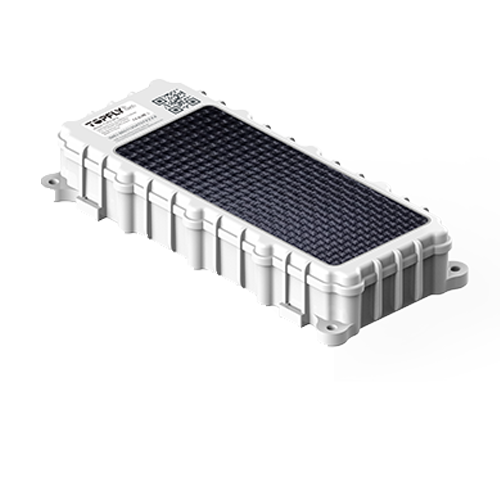
2. Device Overview
The ZenTRACK Solar is a large solar-powered asset tracker designed for long-term outdoor tracking without hardwiring. It charges through an integrated solar panel and can be mounted using magnets, screws, or industrial mounting methods.
Model: ZenTRACK Solar
Type: Solar-powered GPS Asset Tracker (4G Cat-1)
Key Capabilities:
GNSS tracking (location, speed, heading)
Cellular communication to backend platform
Solar charging for long-life field deployment
IP67 waterproof / rugged outdoor casing
Internal rechargeable battery
Movement alerts (moving/parking)
Removal alerts (device pulled off; typically based on light sensor behavior)
BLE support (for sensors and accessories)
Internal antennas (network + GNSS internal)
3. Installation Prerequisites
Before going to the asset, confirm:
Identification: The IMEI and model match the deployment plan.
Pre-configuration: Firmware, config file, APN, and DMS registration are complete.
Tools: Access to the asset, backend platform access, cleaning wipes, and chosen mounting hardware (magnets, screws/bolts, or industrial adhesive/tape).
Environmental Requirement: Choose a placement that gives the device reasonable sunlight exposure for charging and a clear GNSS sky view.
4. Mounting & Power Considerations
4.1 Locate the Installation Point
ZenTRACK Solar should be installed:
On a flat, stable surface.
In a location that receives sunlight (avoid permanent shade under metal overhangs).
Away from areas that may be power-washed at close range or impacted.
4.2 Mounting Method
The device can be mounted using magnets, screws, or heavy-duty industrial adhesive.
Best practice: Clean the surface thoroughly before mounting. Ensure the tracker does not rock or flex, as movement can weaken adhesion and cause false motion/removal alerts.
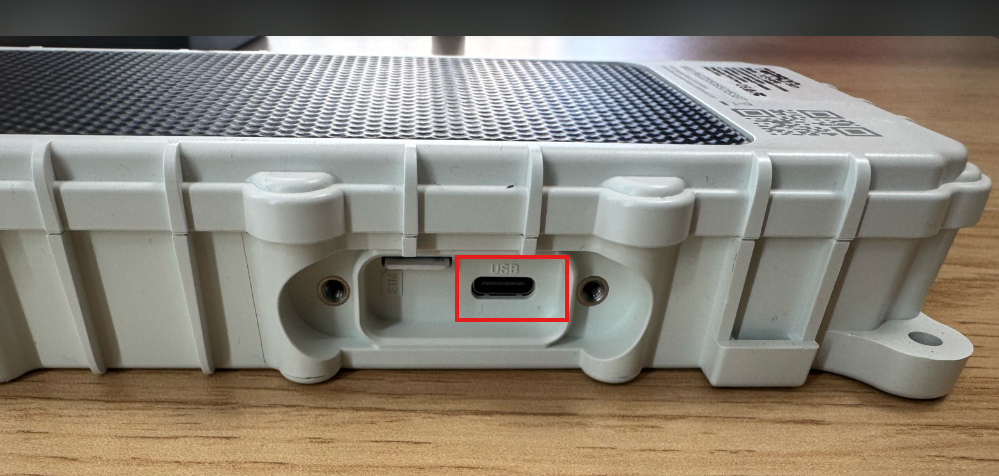
4.3 Power / Charging Considerations
The device includes is permanently on. Battery might be low if it has been in storage with no sunlight
If the device is new or has been in storage, charge it first using the magnetic cable before finalizing installation to ensure the battery is not depleted.
5. LED Indicator & Power Check
Once powered ON, observe the LED indicators:
Network LED (cellular)
GNSS LED
Battery level LED
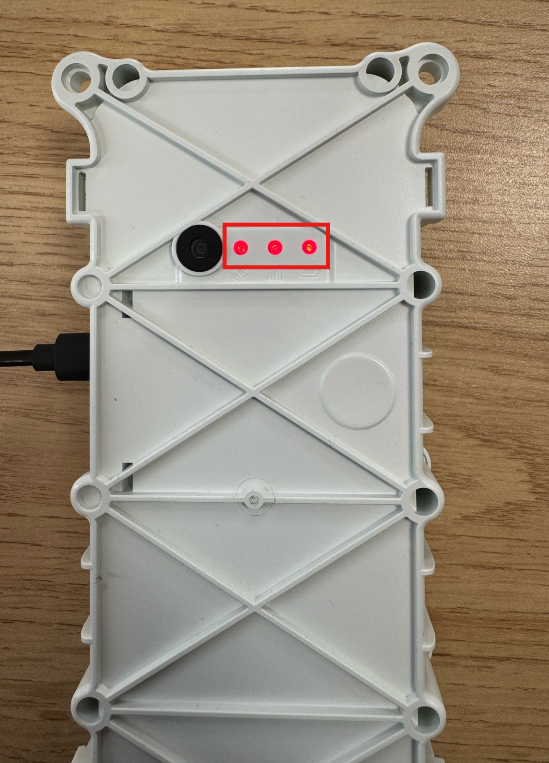
These confirm the device is powered, acquiring GNSS, and connecting to the network.
If there is no LED indication:
Confirm the physical power switch is ON.
Charge the unit via the magnetic cable and re-check.
If still no LEDs, do not install—refer to the troubleshooting process.
6. Basic Connectivity Check
Wait a few minutes with the device in an open area so it can acquire a GNSS fix and connect to the network.
In your backend platform (e.g., ZenduOne):
Search for the device by IMEI.
Confirm: Recent location/telemetry is present and the device is updating as expected.
7. Finalize Installation
Secure the device and ensure:
It is firmly mounted and cannot easily be knocked off.
The solar panel side remains exposed to light.
All splices or mounting points are insulated or smoothed.
Document: Asset ID, Device IMEI, Installation date, and mounting method.