ZenduONE - Creating An App for a Single Account
This Article walks through the process of creating and adding a new applications into the My Applications feature of ZenduONE.
Written By Zenduit Product Team
Using your favorite AI website builder (eg Google AI Studio, Replit, Base44) create a new web application using the following prompt. Be sure fill in the :
Build a web addin app that integrates with the Trax fleet management platform.
Authentication Flow:
The addin runs inside an iframe embedded in the Trax web app. On load, the parent window sends a token via postMessage:
{ "type": "TRAX_ADDIN_TOKEN", "tokenId": "<token>" }
Also accept the token from the URL query param ?token=<token> for development/testing.
Once received, validate the token by calling:
POST https://trax-addin-api-dev-service.zenduit.com/Addin/ValidateToken Authorization: Bearer <tokenId> Content-Type: application/json Body: {}
Success response: { "valid": true, "token": { "TokenId": "string", "CompanyId": "string", "Username": "string", "ViewingGroups": ["string"], "IsMetric": true } }
If valid is false or the request fails, show an authentication error screen. All subsequent API calls must include Authorization: Bearer <tokenId> header.
—
Available Endpoints:
Base URL: https://trax-addin-api-dev-service.zenduit.com
All endpoints require: Authorization: Bearer <tokenId>
GET /Driver/GetAll
Returns all drivers for the company associated with the token.
[ { "Id": "string", "FirstName": "string", "LastName": "string", "Email": "string", "Phone": "string", "EmployeeId": "string", "DriverIdentification": "string", "Photo": "string", "IsCheckIn": true } ]
GET /Device/GetAll
Returns all devices (vehicles/trackers) for the company associated with the token.
[ { "Id": "string", "Name": "string", "Type": "string", "Serial": "string", "Phone": "string", "VIN": "string", "LicensePlate": "string", "Manufacturer": "string", "Model": "string", "Color": "string", "MakeYear": "string", "Status": "string" } ]
GET /ping
Health check — returns "Service is Live" with no auth required.
—-
<YOUR APP DESCRIPTION HERE>
This will set up the authentication needed for your app to be accessible within ZenduONE.
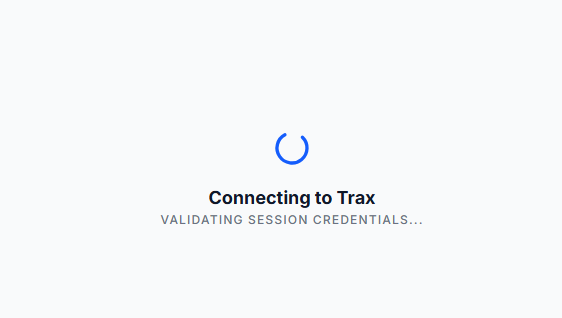
At this point your app won’t yet have the authentication needed to be able to display the information from ZenduONE, and as a result this will be the expected view:
Publish you app to obtain a URL to view your application.
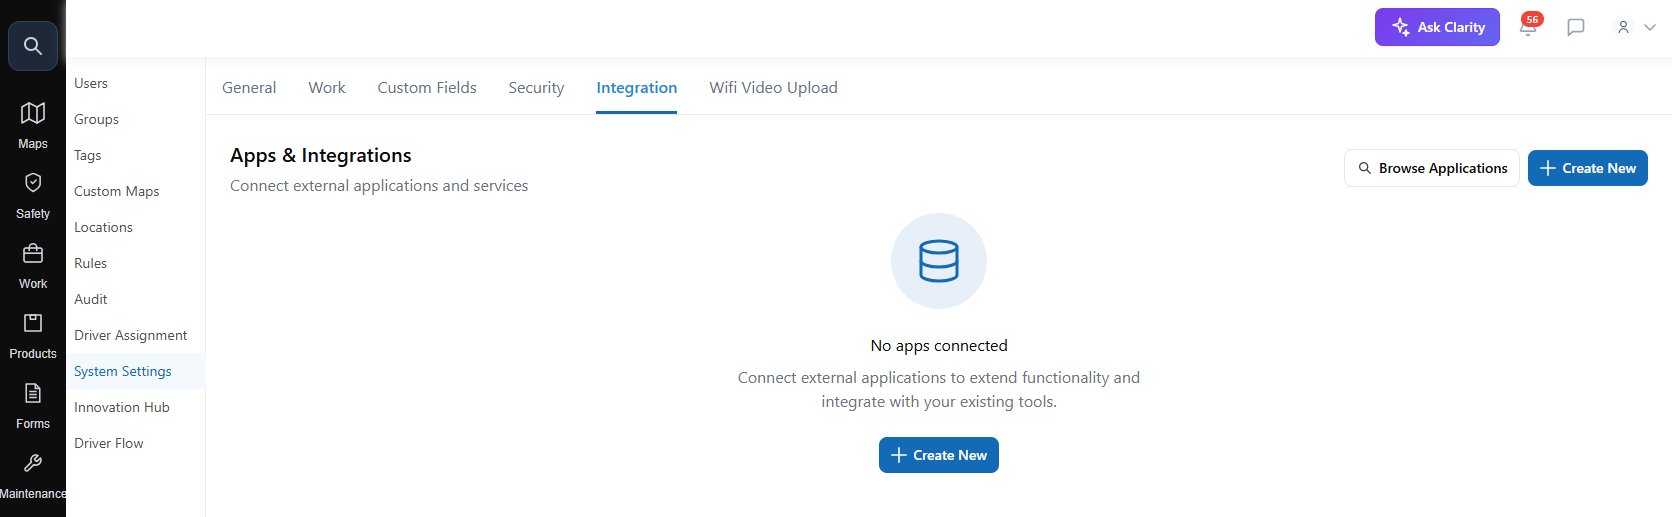
In ZenduONE navigate to the Admin Settings > System Settings > Integration Tab and then select Create New:
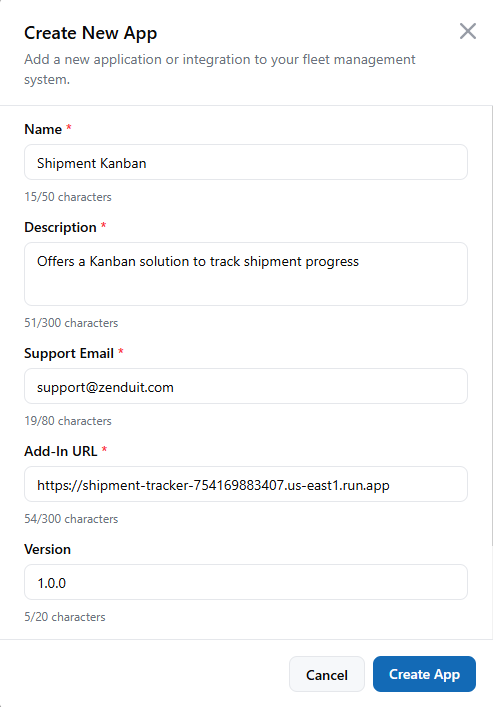
Enter the details about the Application and select Create App:
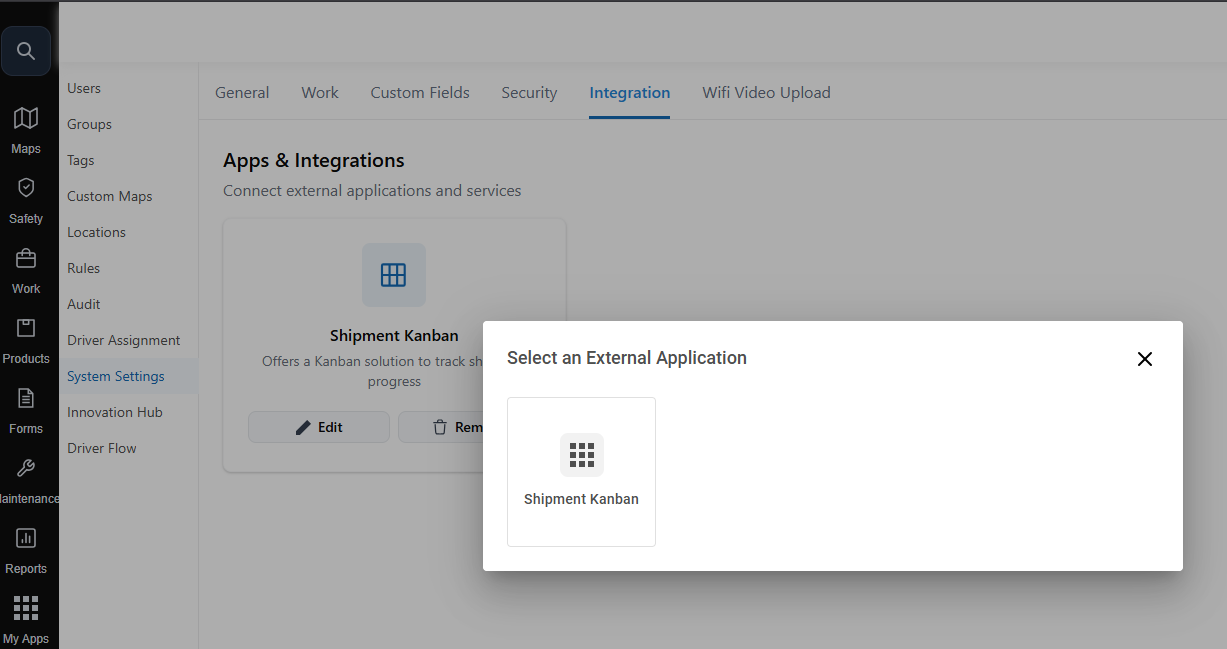
Your application is now listed and accessible from the My Apps button:
To develop the App within your own environment you will need to obtain the Authorization Token. Using the Development link in the App settings, enter the developer setting panel (F12), Click on the Network tab, and then load you add in.
In the Developer console look for “CreateToken” and copy the tokenId value.
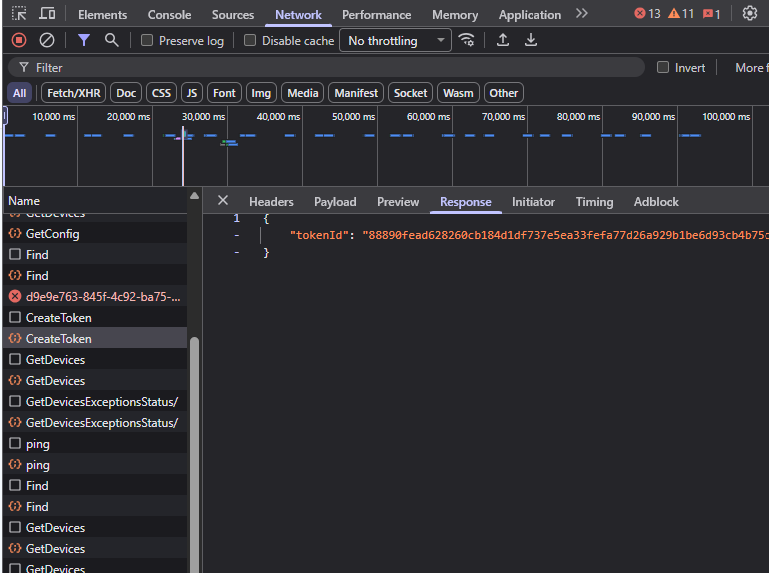
In your Development environment add “?token=<Copied Value>”. You will now be able to see the preview of your App in your development environment.
Subtleties in Replit:
Use the External Window to get the Dev URL for use in the App Configuration:

Subtleties in Google AI Studio:
Use the Share Button and set the General access to Public. Then Use the “Copy Link” button to obtain the dev url for use in the App configuration.
NOTE: Google AI studio requires sign in with google to be able to see the App in Developer Mode. Since this is not possible from within ZenduONE the app will display the following. You can however still obtain the tokenID for use in AI studio.
